Installing and Configuring Active Directory – Windows Server 2016
This is a guide for installing Active Directory using Server Manger. To install Active Directory on Server Core, and/or install using PowerShell, please see Installing Active Directory with PowerShell – Windows Server Core 2016.
How-To
Prerequisites
Before Starting, I recommend changing the server name and setting a static IP. Attempting to change these after Active Directory installation can cause headaches. If you are unsure how to do this, please view one of the following articles.
Configure Server Using Sconfig
Configure Server Using Server Manager
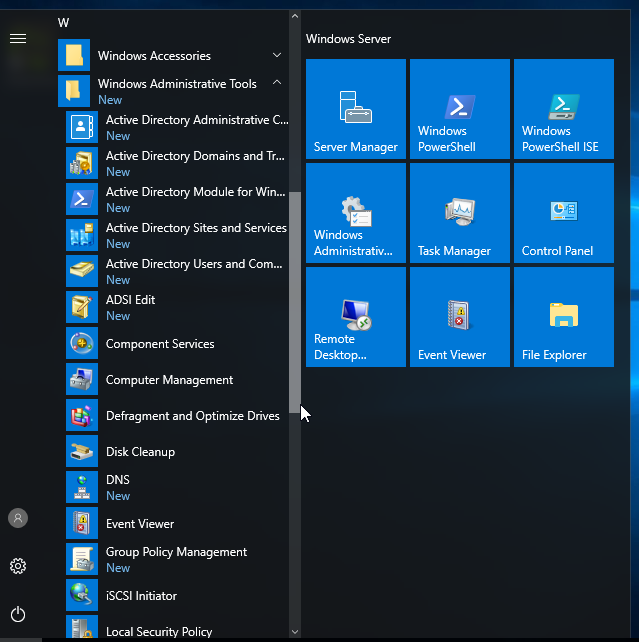
1) Open Server Manager
Open the Run box using Win+R, type servermanager.exe, and click
or
Search Server Manager in the Start Menu and click it

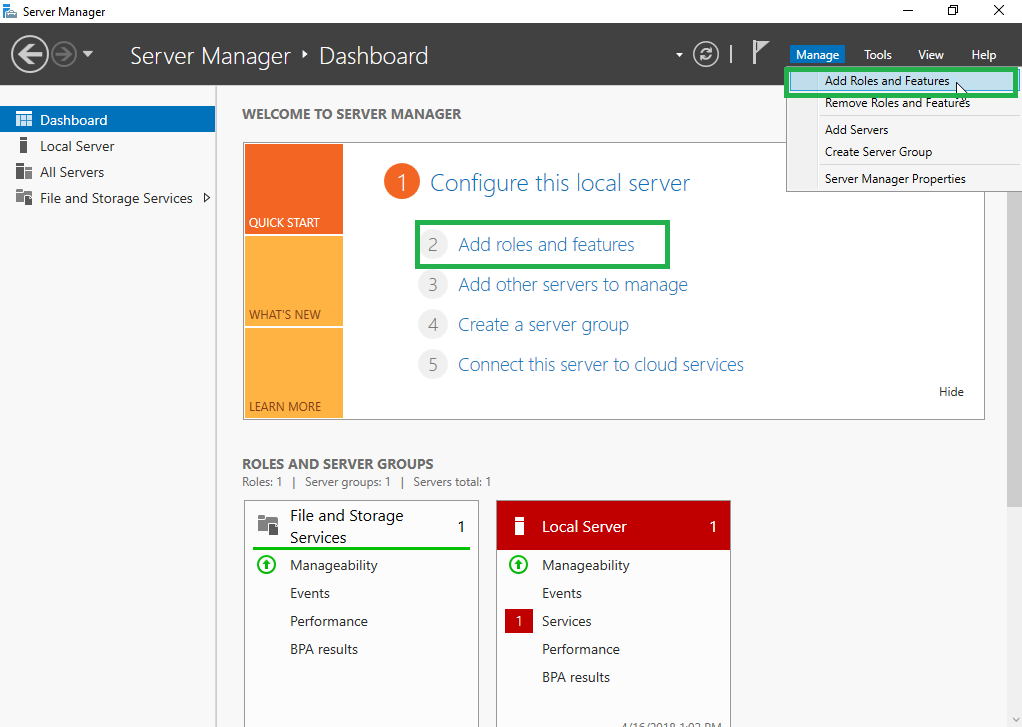
2) Choose either “Add Roles and Features” Option
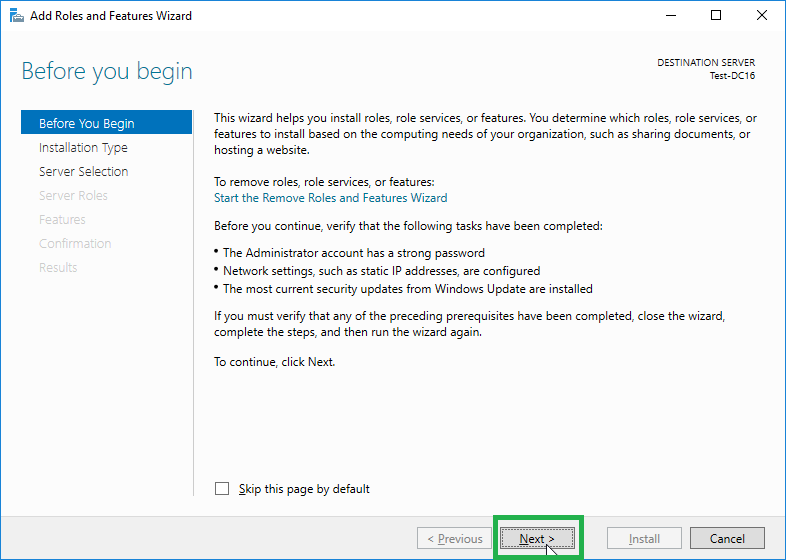
3) Click Next
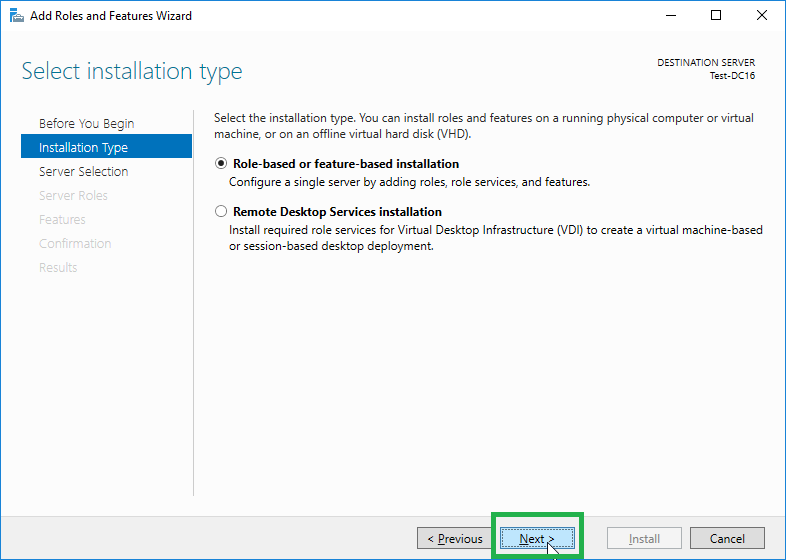
4) Click Next
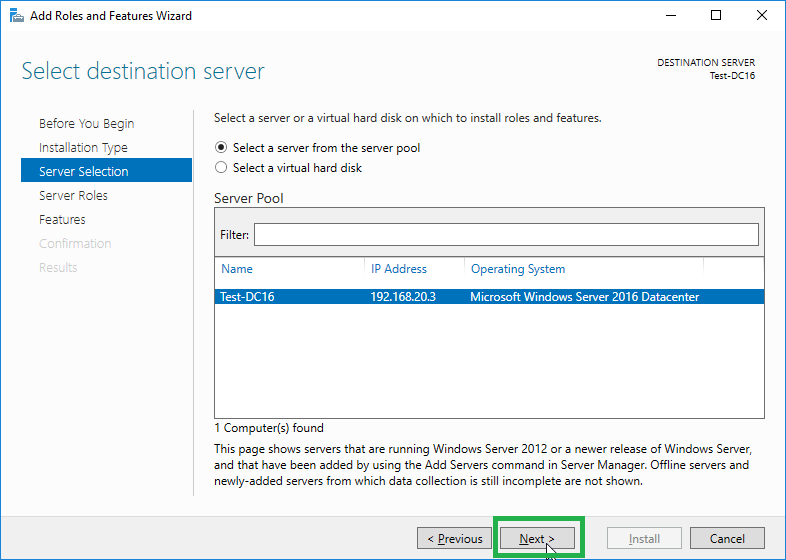
5) Select the server
If installing to the local machine, simply click next
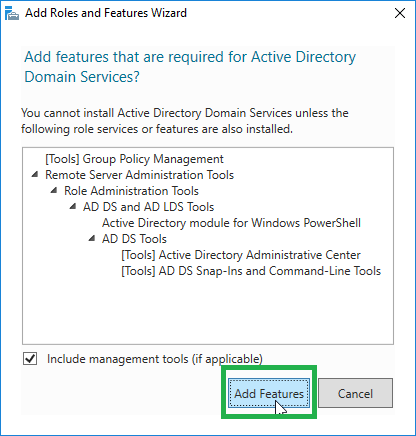
6) Check “Active Directory Domain Services” and click Next

7) Click Add Features
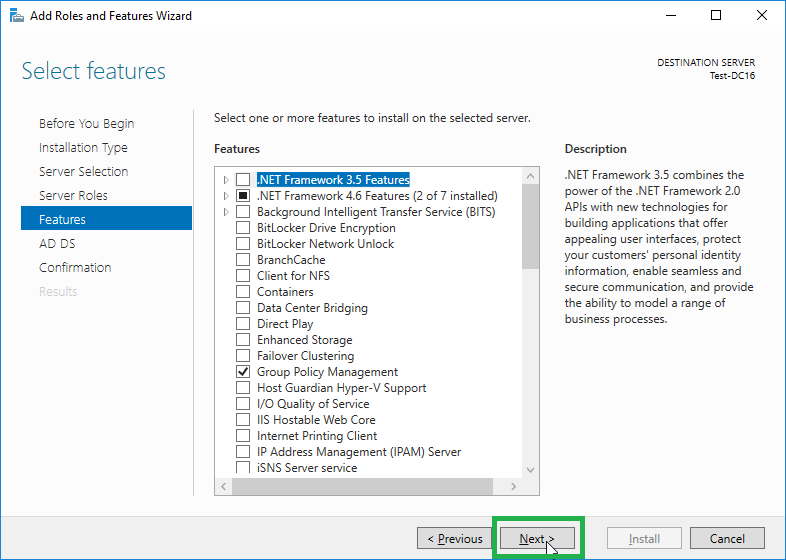
8) Click Next
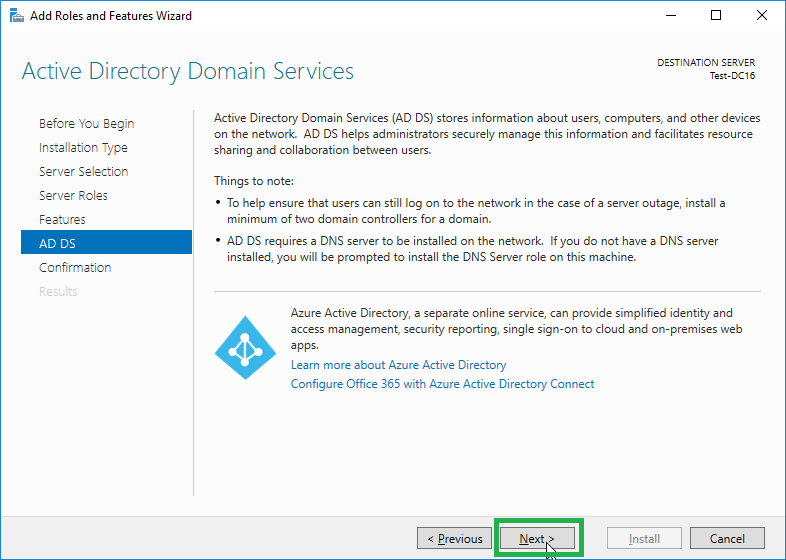
9) Click Next
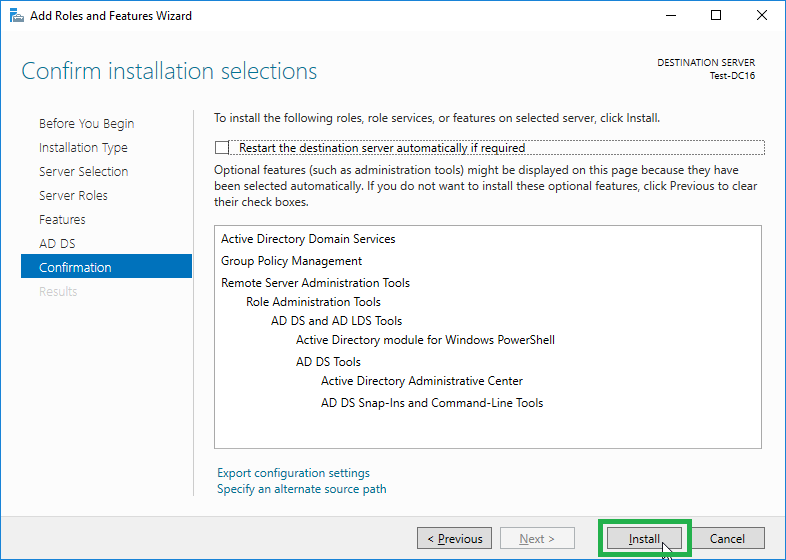
10) Click Install
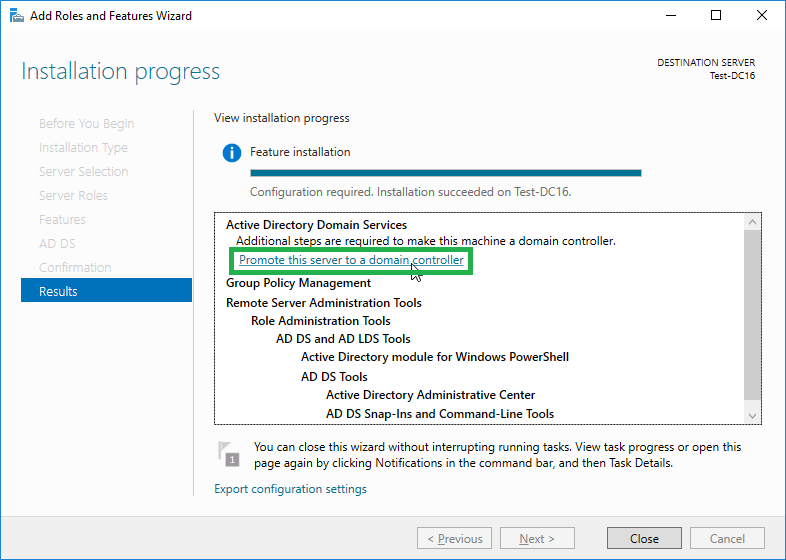
11) Wait for the install to finish and click “Promote this server to a domain controller”
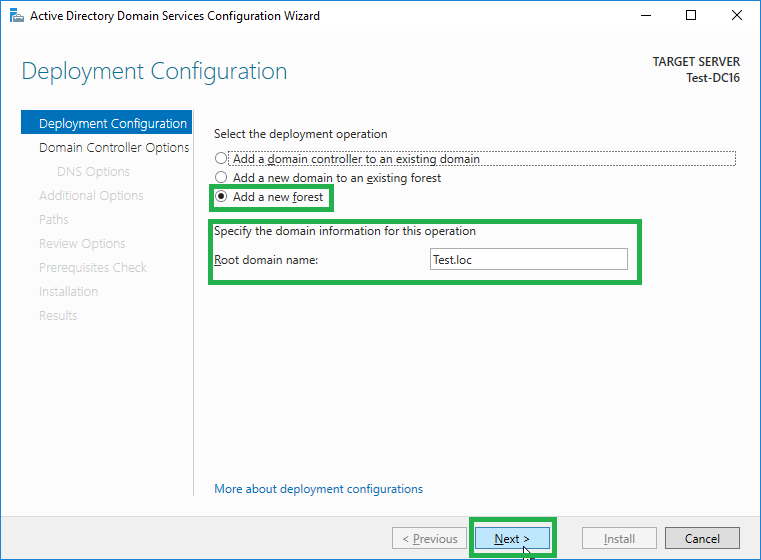
12) Choose “Add a new forest”, enter a Domain Name, and Click Next
This is assuming that the server is not going to be part of a pre-existing domain and the new domain is not going to be added to a pre-existing forest.
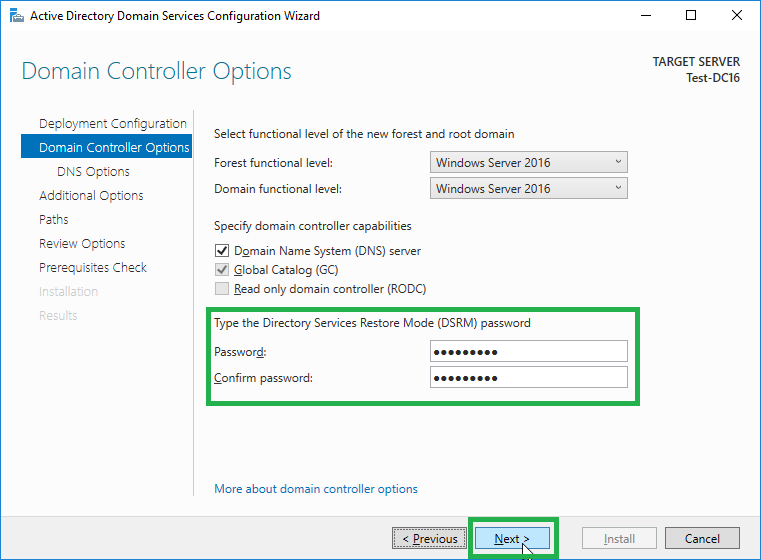
13) Enter a password for DSRM and click next
Again, this is assuming that the server is a new, stand-alone, Domain Controller. If it will be joining a pre-existing forest and/or domain, the functional levels may need to be changed to match the function levels currently in place.
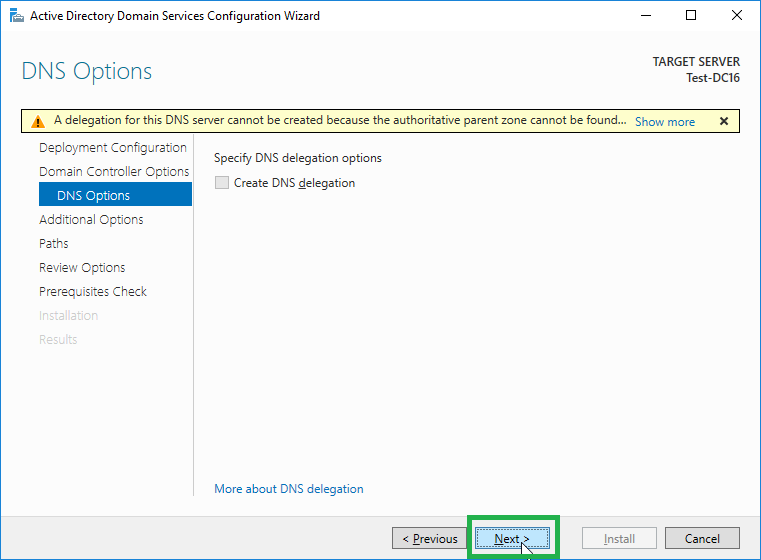
14) Click Next
This is assuming you do not have existing DNS servers for which delegation may be required.
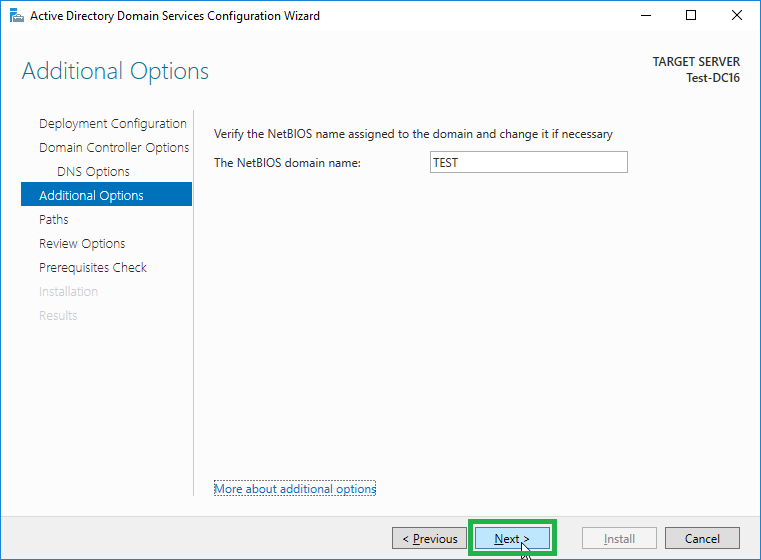
15) Click Next
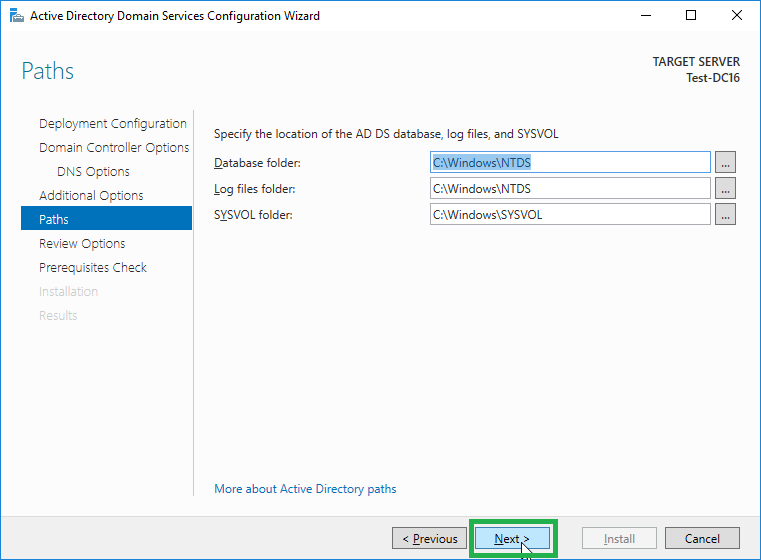
16) Click Next
17) Click Next
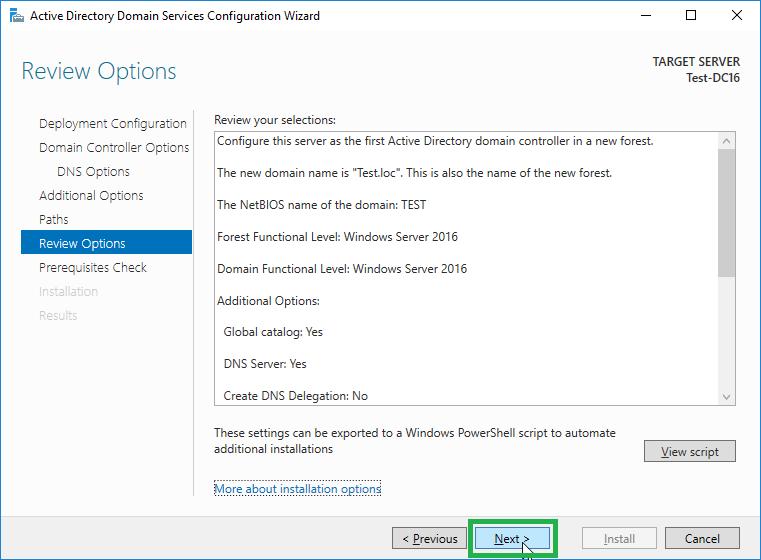
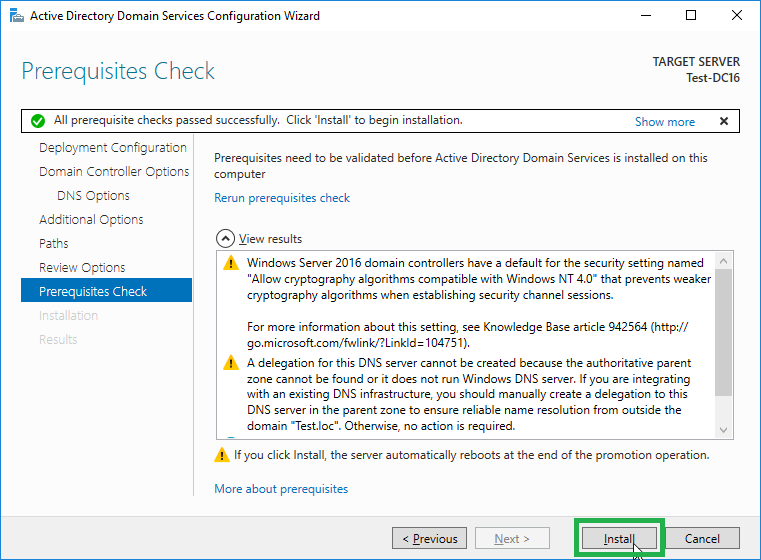
18) Click Install
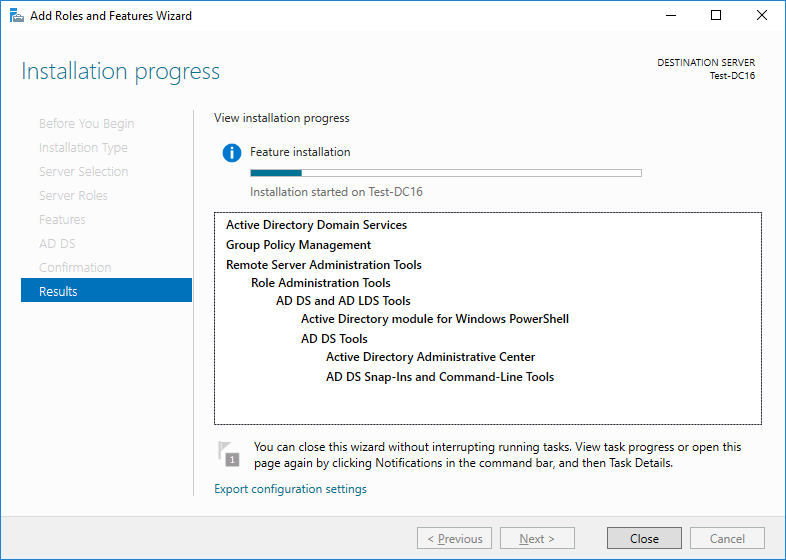
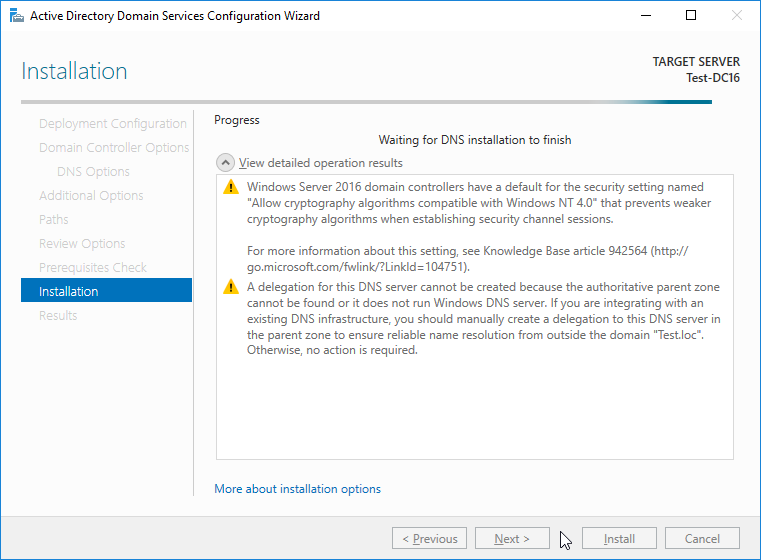
19) Wait for Install to Finish
20) The Active Directory and DNS roles are now installed
See Windows Administrative Tools to find the management applications