Installing Windows Server 2016
This is a guide for installing Windows Server 2016. If you already have Server 2016 installed and you would like to configure it, please see one of the articles below.
Configure Server Using Sconfig
Configure Server Using Server Manager
How-To
Prerequisites
Before starting with this guide, you will need to boot into installation media. For a physical server, insert the disc or USB drive and choose it in your boot options if necessary. For a virtual server, configure it to mount the ISO or pass though the server’s optical drive or usb slot. Then change the boot order or one-time boot options.
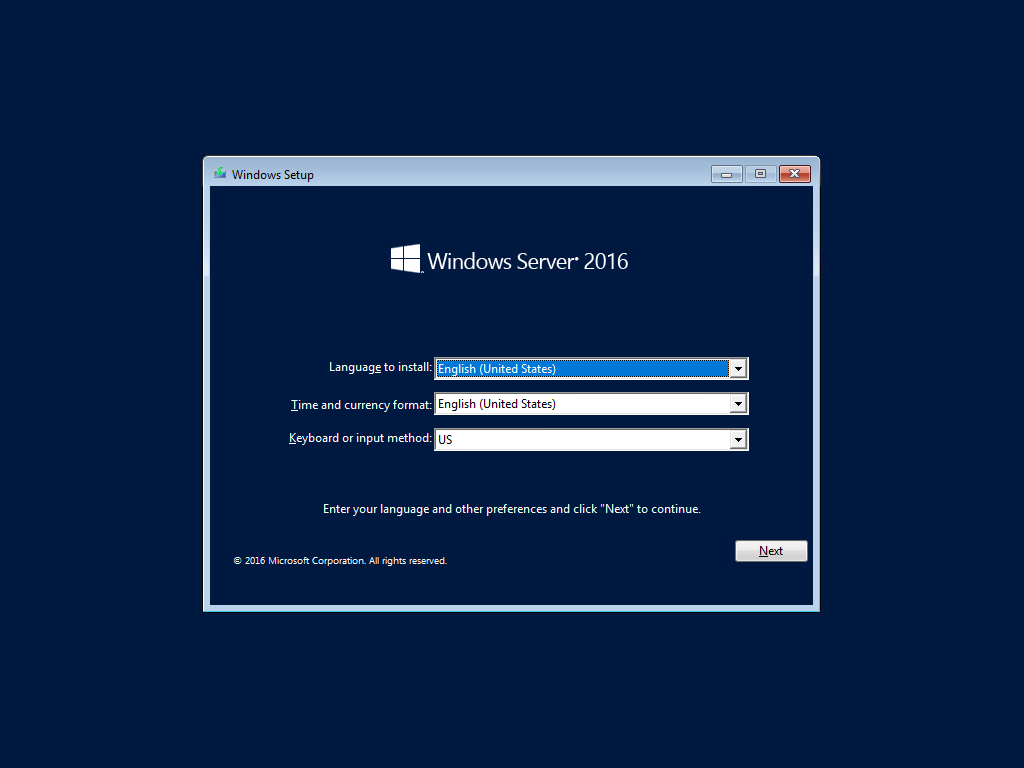
1) Boot into the installation media
If you have booted off the installation media, you have see the screen below
Choose your Language, Time and currency format, and Keyboard or input method and hit Next
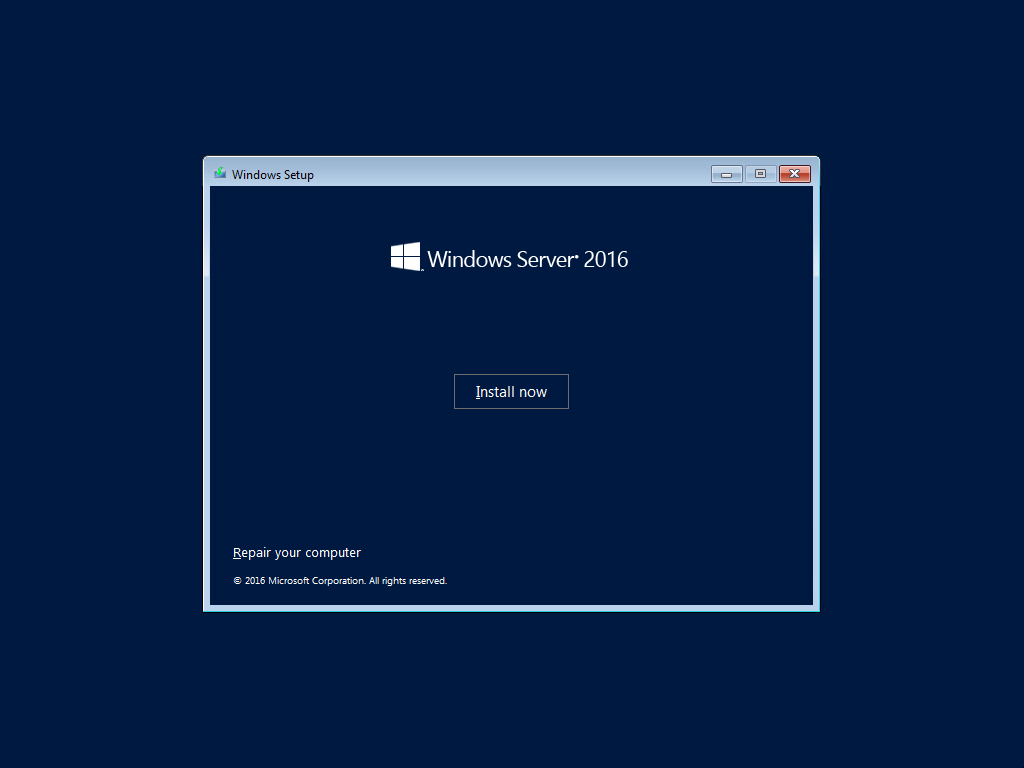
2) Click Install Now
3) Choose the version
Choose the version that fits your license and your needs then click Enter
Please Note:
Choosing Windows Server 2016 Standard or Windows Server 2016 Datacenter will install without a desktop experience. This was previously known as Server Core. If you would like the GUI, make sure to choose one of the options with (Desktop Experience).

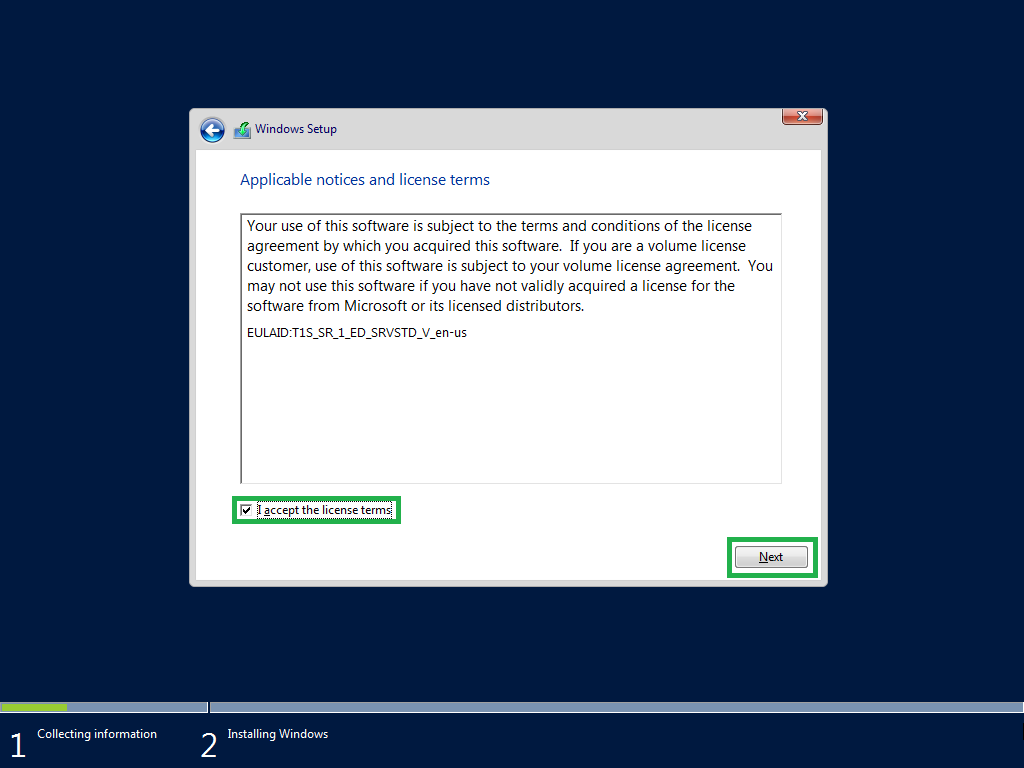
4) Accept the license terms
Click the I accept the license terms checkbox and click Next
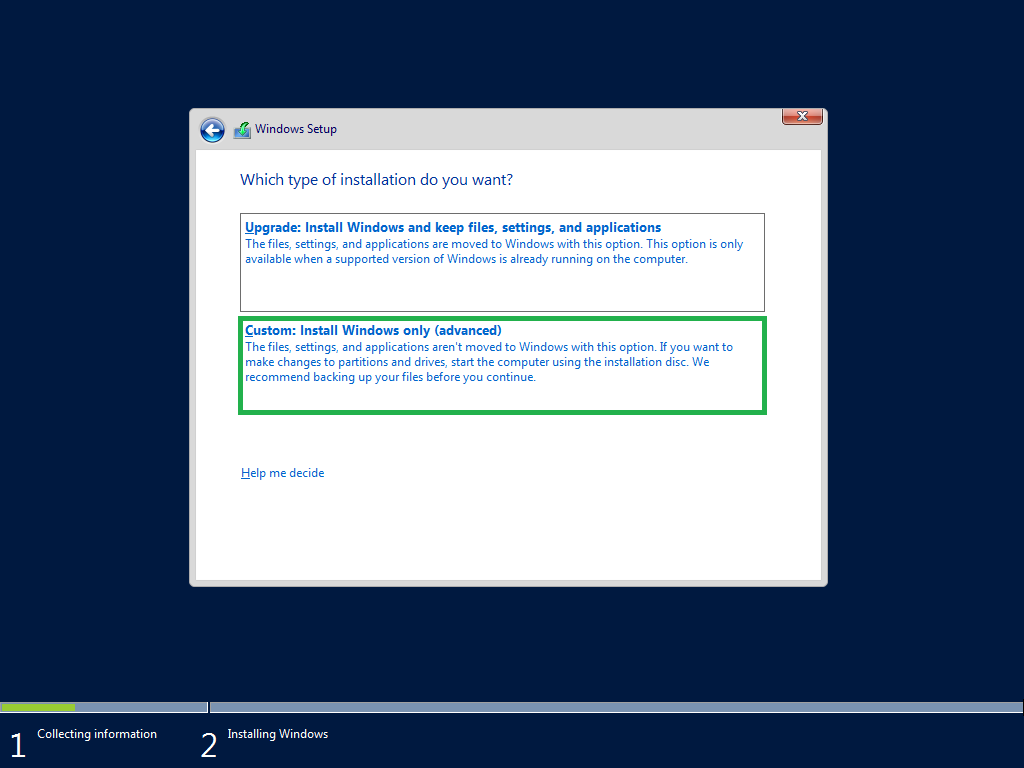
5) Choose your installation type
We are assuming Windows Server is not installed on this machine
Choose Custom: Install Windows only (advanced)
6) Choose the drive
Select the drive you would like to install to and click Next

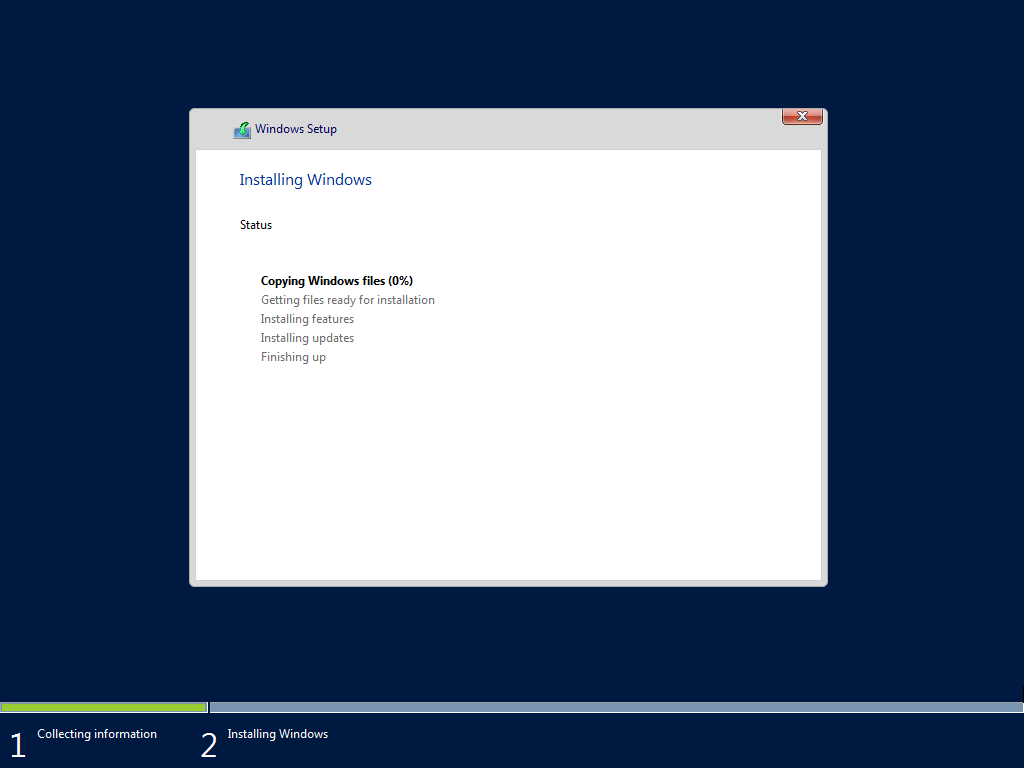
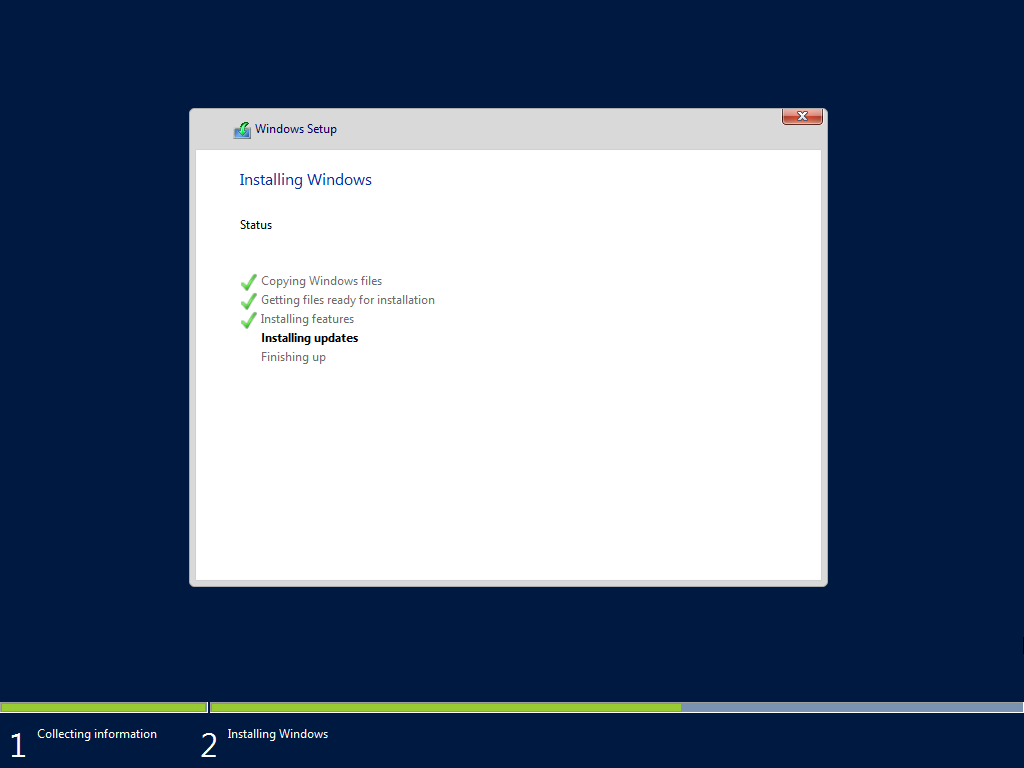
7) Let the install complete
See examples of the progress below

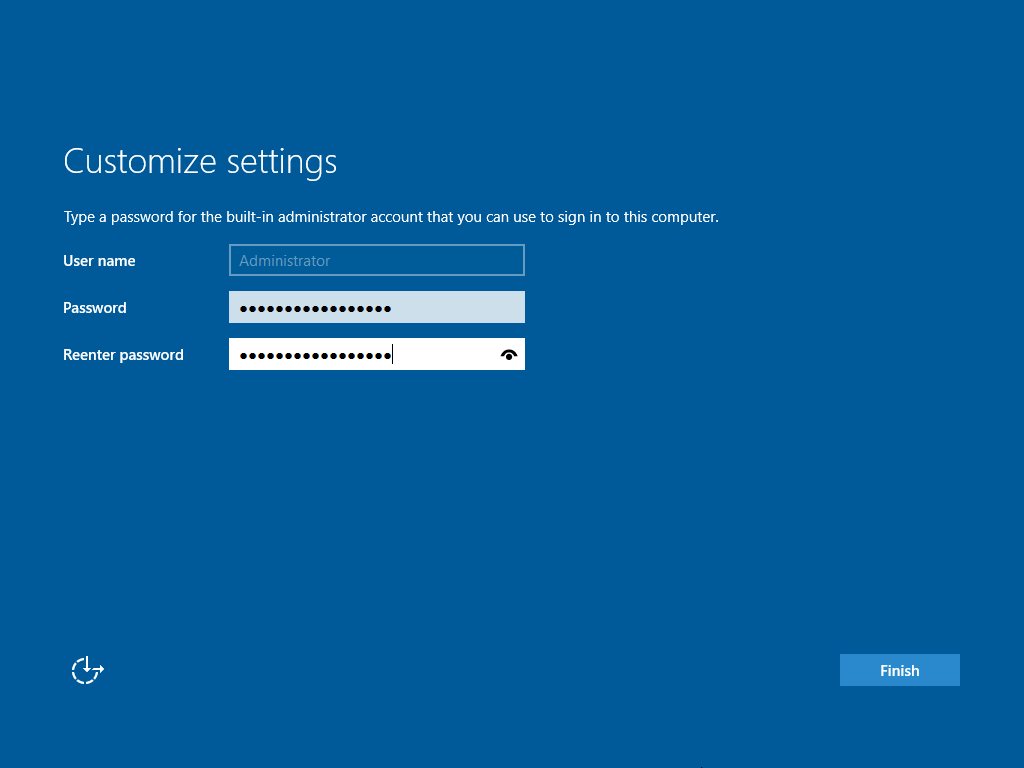
8) Enter the administrator password
Enter the password you would like to use for the administrator account then click Finish or hit Enter
9) Installation is now complete!
You are now at the login screen
You can now log in with the administrator credentials you created earlier
Feel free to use the links at the top of the page to configure the server