Configure Reverse Lookup Zone – Windows Server 2016
This is a guide for configuring reverse lookup zones for DNS using DNS Manager. To do this with PowerShell, please see Configure Reverse Lookup Zone with PowerShell – Windows Server Core 2016.
How-To
Prerequisites
Before starting, you should have the DNS role installed. To install the DNS role, please see one of the following articles:
Installing the DNS Role with PowerShell -Windows Server Core 2016
Installing the DNS Role using Server Manager – Windows Server 2016
Assumptions
In this guide, I will be setting up a reverse lookup zone for an IPv4 primary zone. This primary zone is connected to Active Directory. However, this process can be easily adapted for other types of reverse lookup zones.
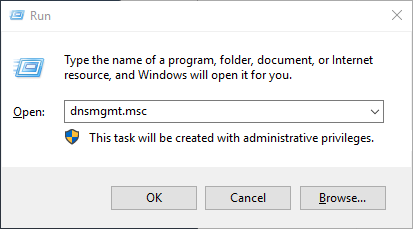
1) Open DNS Manager
Open the Run box using Win+R, type dnsmgmt.msc, and click OK
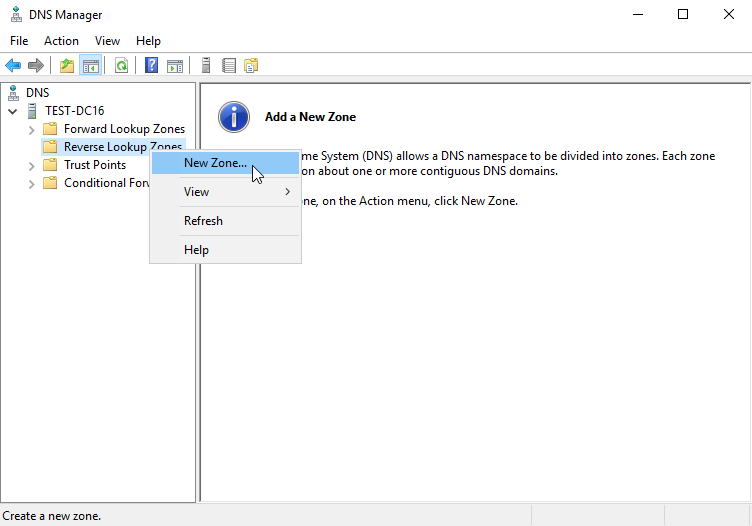
2) Open the New Zone Wizard
Right click Reverse Lookup Zones under the server of your choosing, then select New Zone…
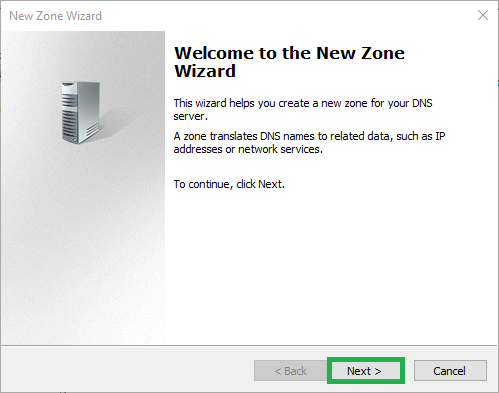
3) Click Next
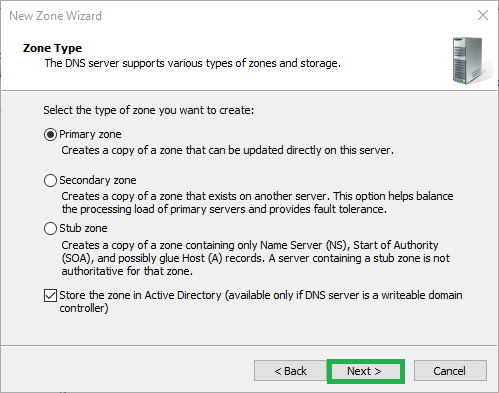
4) Select the zone type
Select the appropriate type of zone, in this example we are making a reverse lookup zones connected to a primary zone that is connected with Active Directory.
Click Next
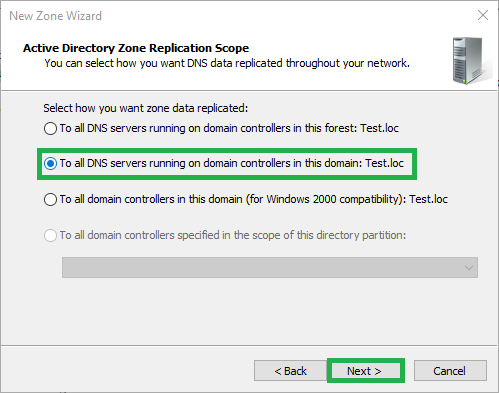
5) Select to replicate to Forest or Domain
Select whether you want this zone to replicate to all domain controllers in the forest or in the domain. In my case, I’m choosing all domain controllers in the domain.
Click Next
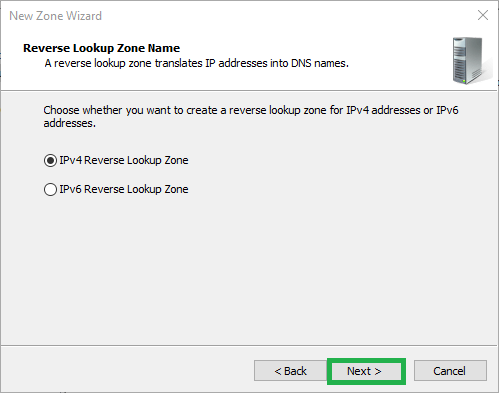
6) Select IPv4 or IPv6
Select IPv4 or IPv6 then click Next
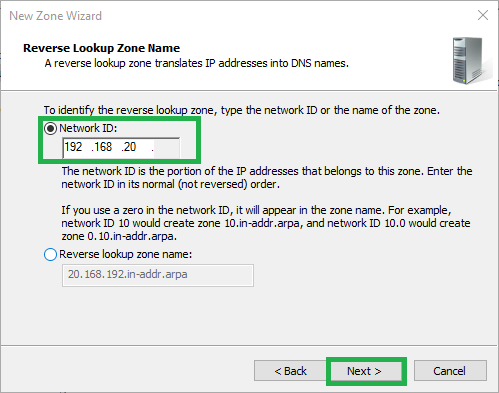
7) Enter the Network ID
Enter the Network ID of the zone, this should correspond with the primary zone that has already been created
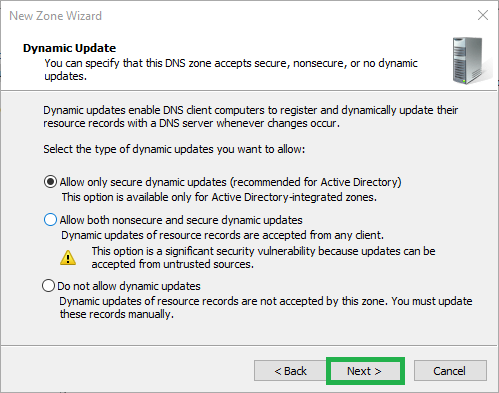
8) Select type of Dynamic Updates
In this case we will be keeping the default (Allow only secure dynamic updates)
This protects against clients maliciously updating records incorrectly
Click Next
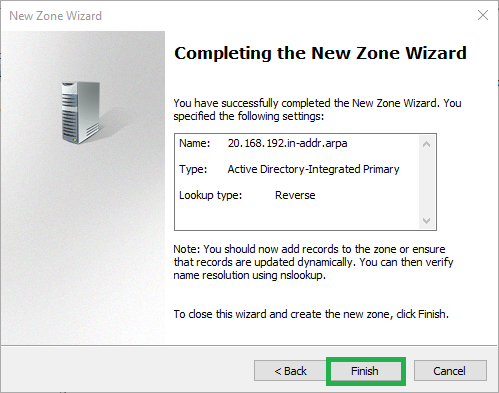
9) Click Finish
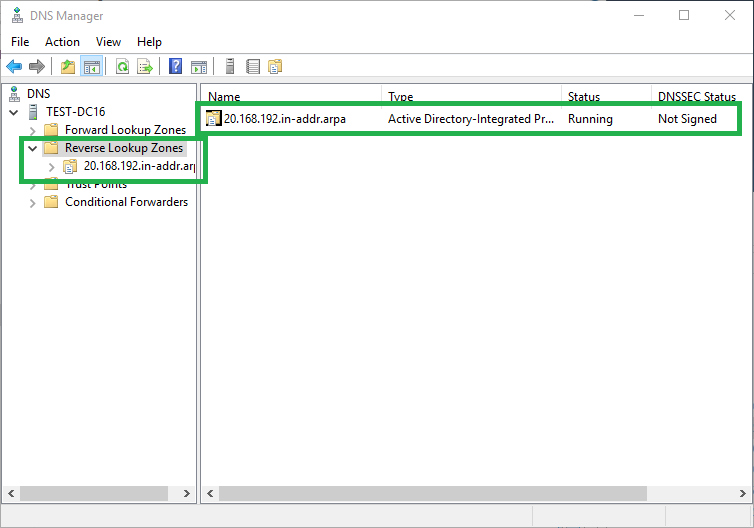
10) Review DNS Manager
You should now see the Reverse Lookup Zone in DNS Manager