Installing the DNS Role with PowerShell – Windows Server Core 2016
This is a guide for installing the DNS role using PowerShell. This will work on Servers with or without the Desktop Experience. To install using Server Manager, please see Installing the DNS Role using Server Manager – Windows Server 2016.
How-To
Prerequisites
Before Starting, I recommend changing the server name and setting a static IP address. Attempting to change these later on can cause headaches as there will likely be many clients pointing to this. If you are unsure how to do this, please view one of the following articles.
Configure Server Using Sconfig
Configure Server Using Server Manager
1) Open Command Prompt (cmd) as an Administrator
If you are on Server Core this is likely already open. If it is not, hold Ctrl+Alt+Del and select Task Manager. Then choose File -> Run new task, type cmd, select Run with administrative privileges and click OK or hit Enter.

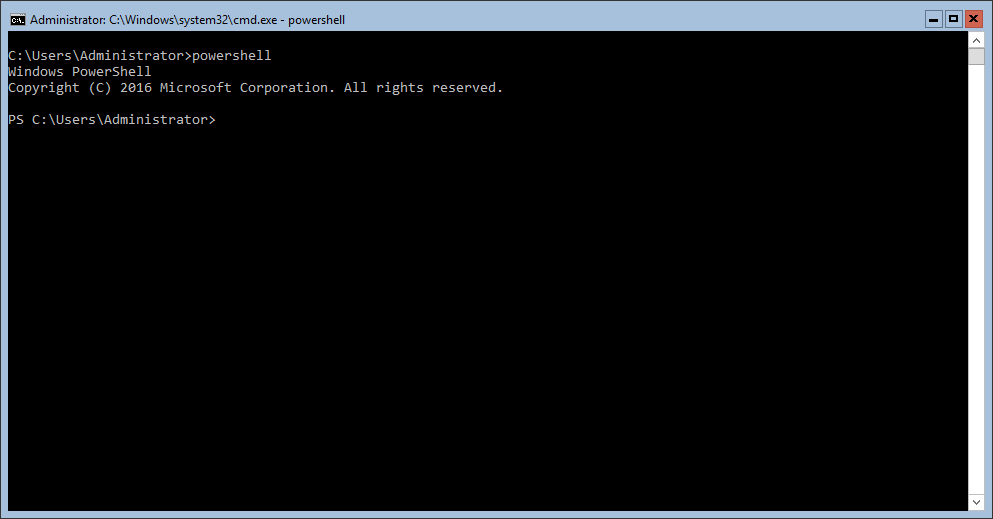
2) Enter PowerShell
Type the word PowerShell and hit Enter
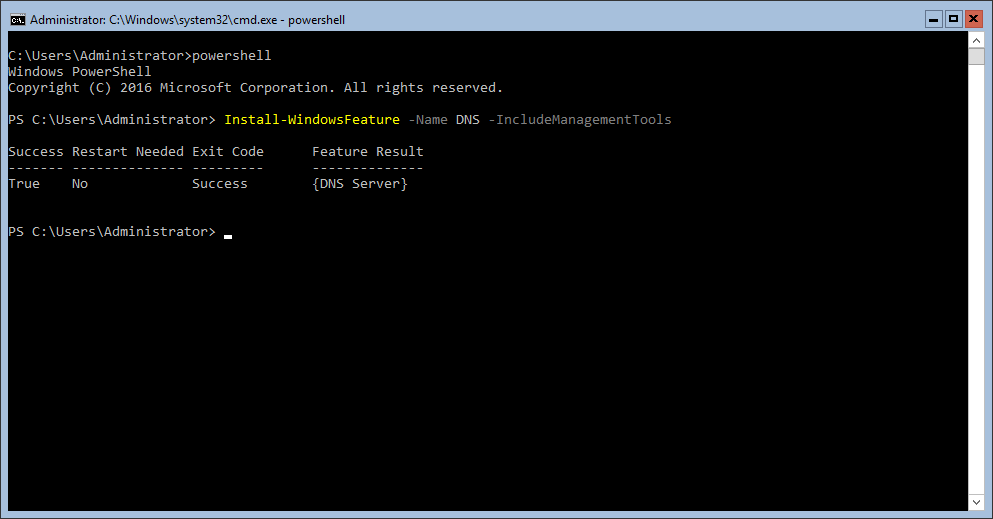
3) Install the DNS Feature
Type Install-WindowsFeature -Name DNS -IncludeManagementTools and hit Enter
When the install is complete, you should see the following output